
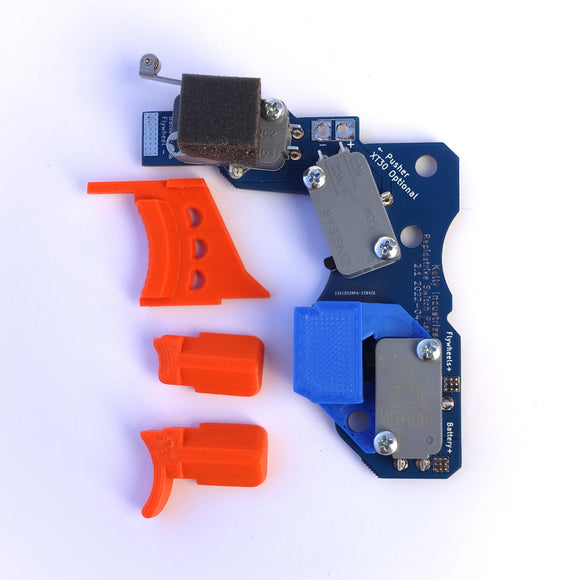


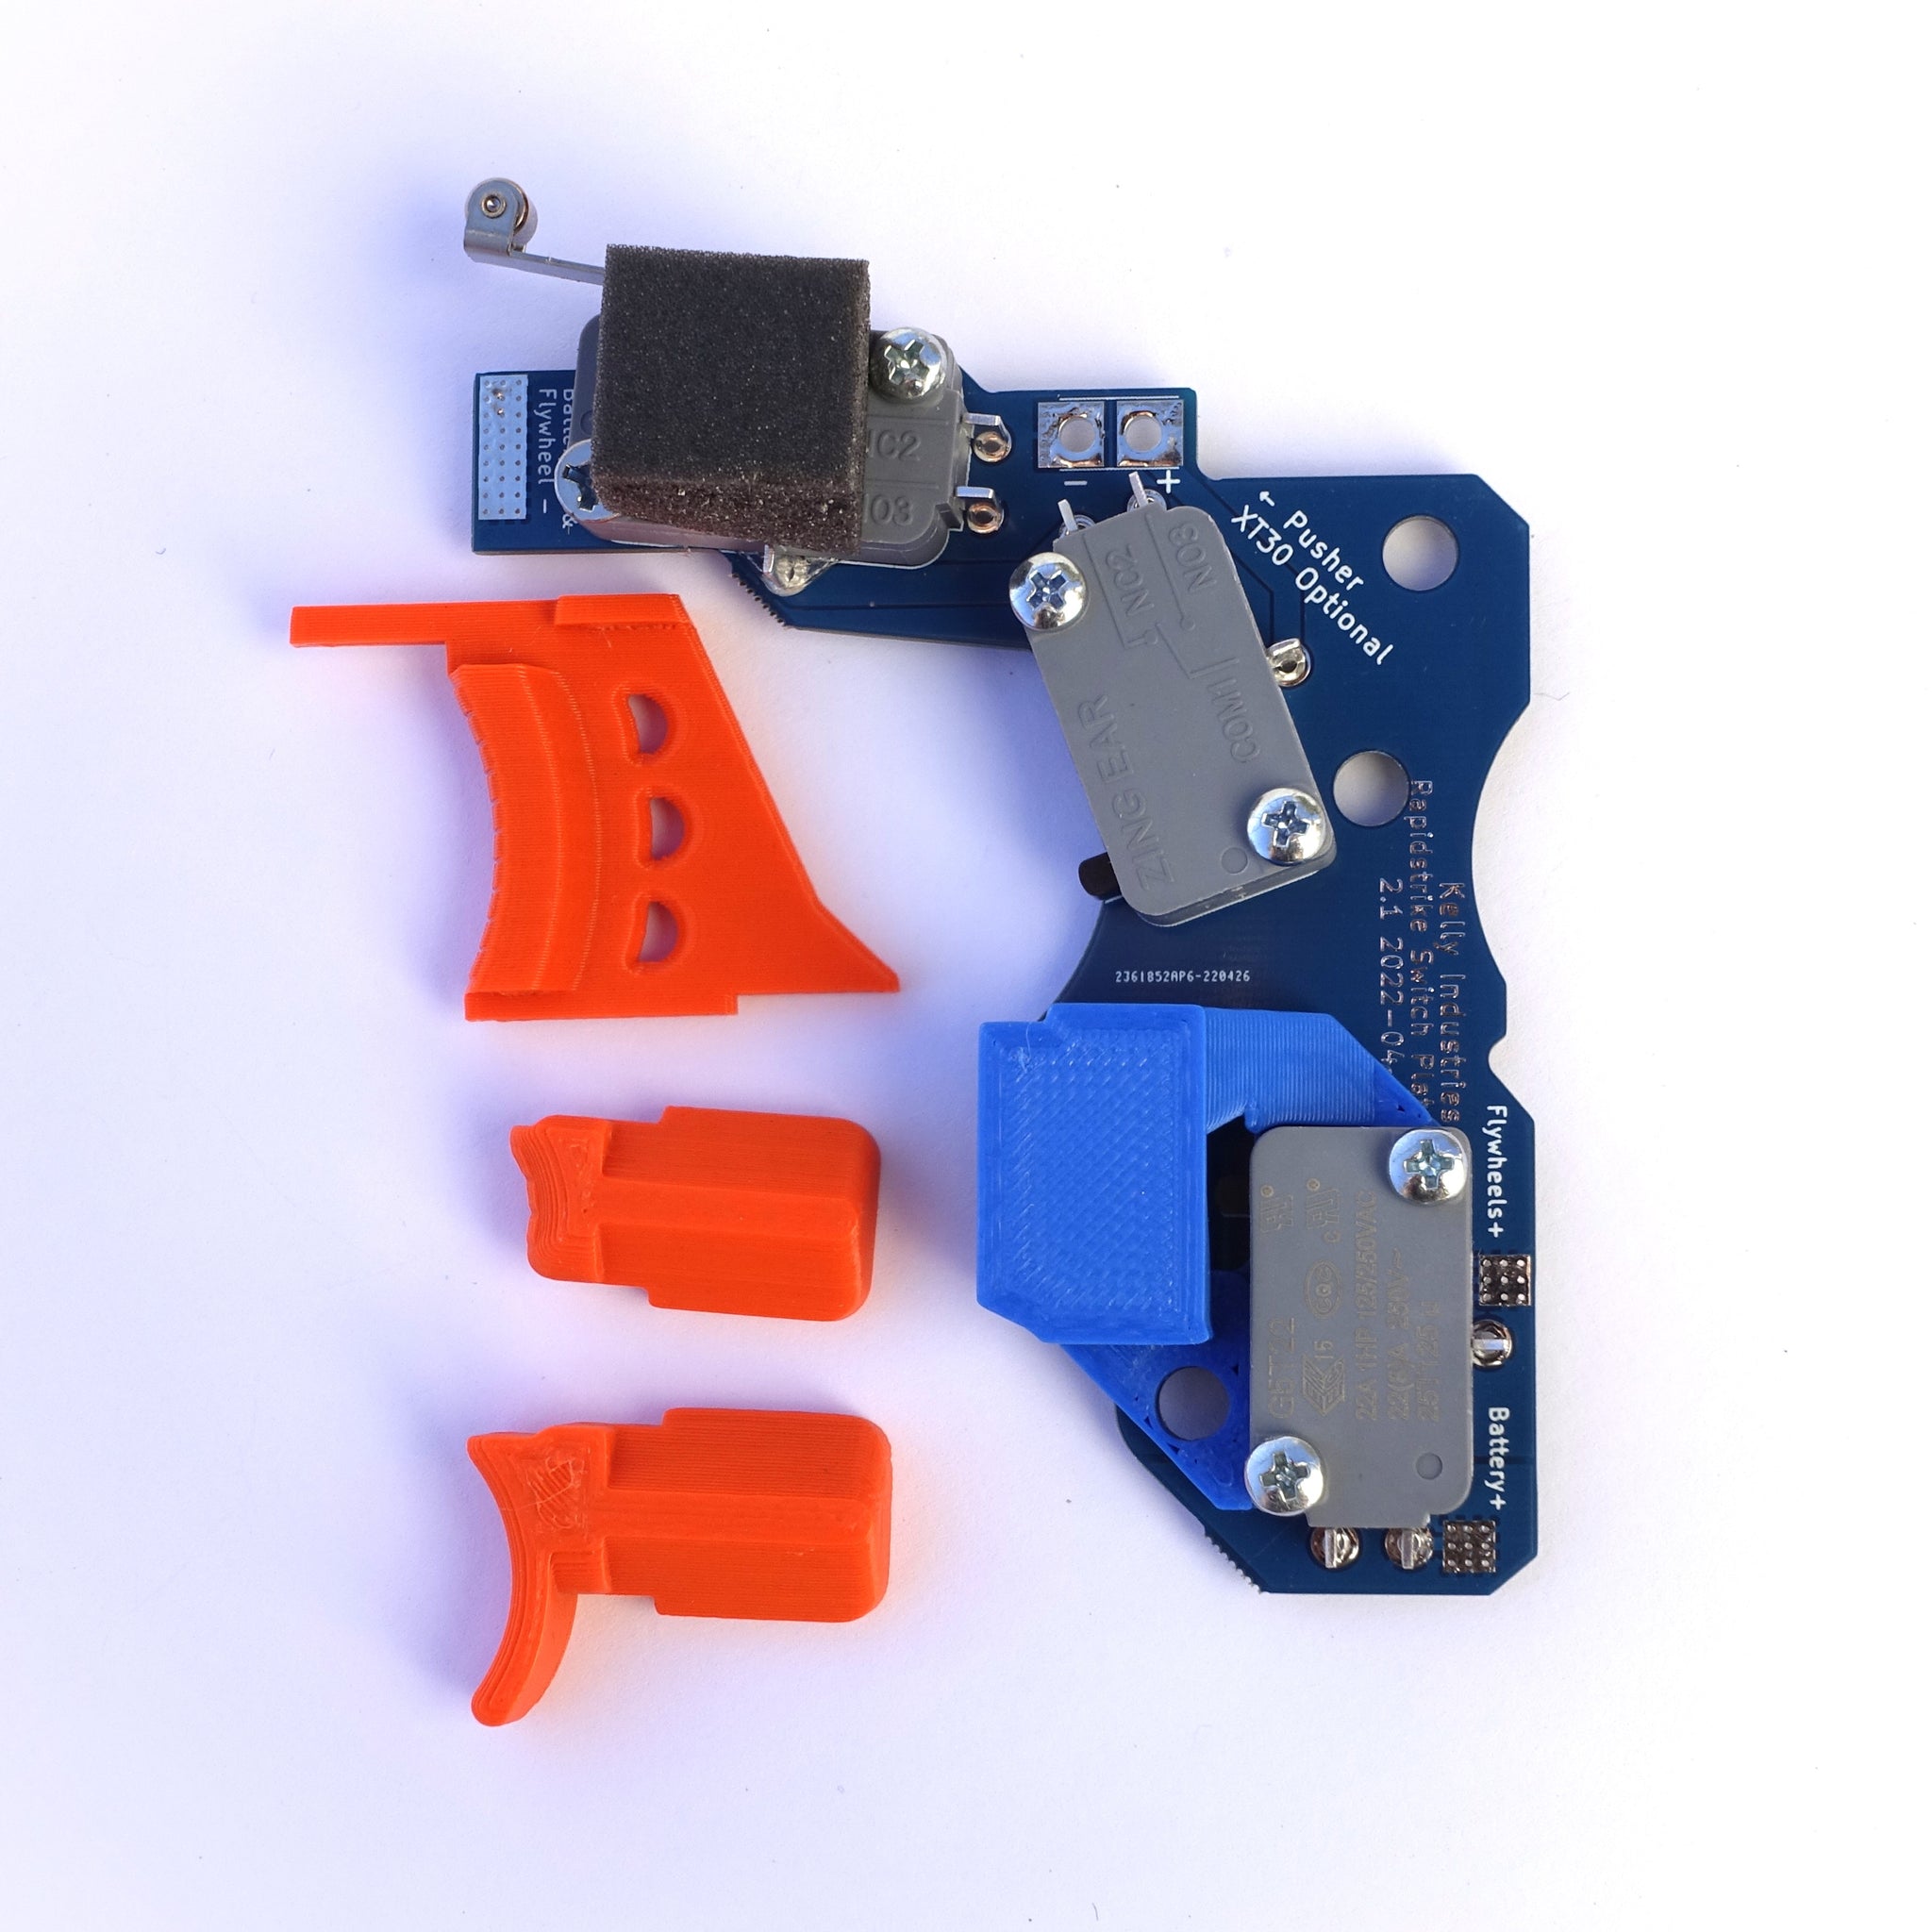
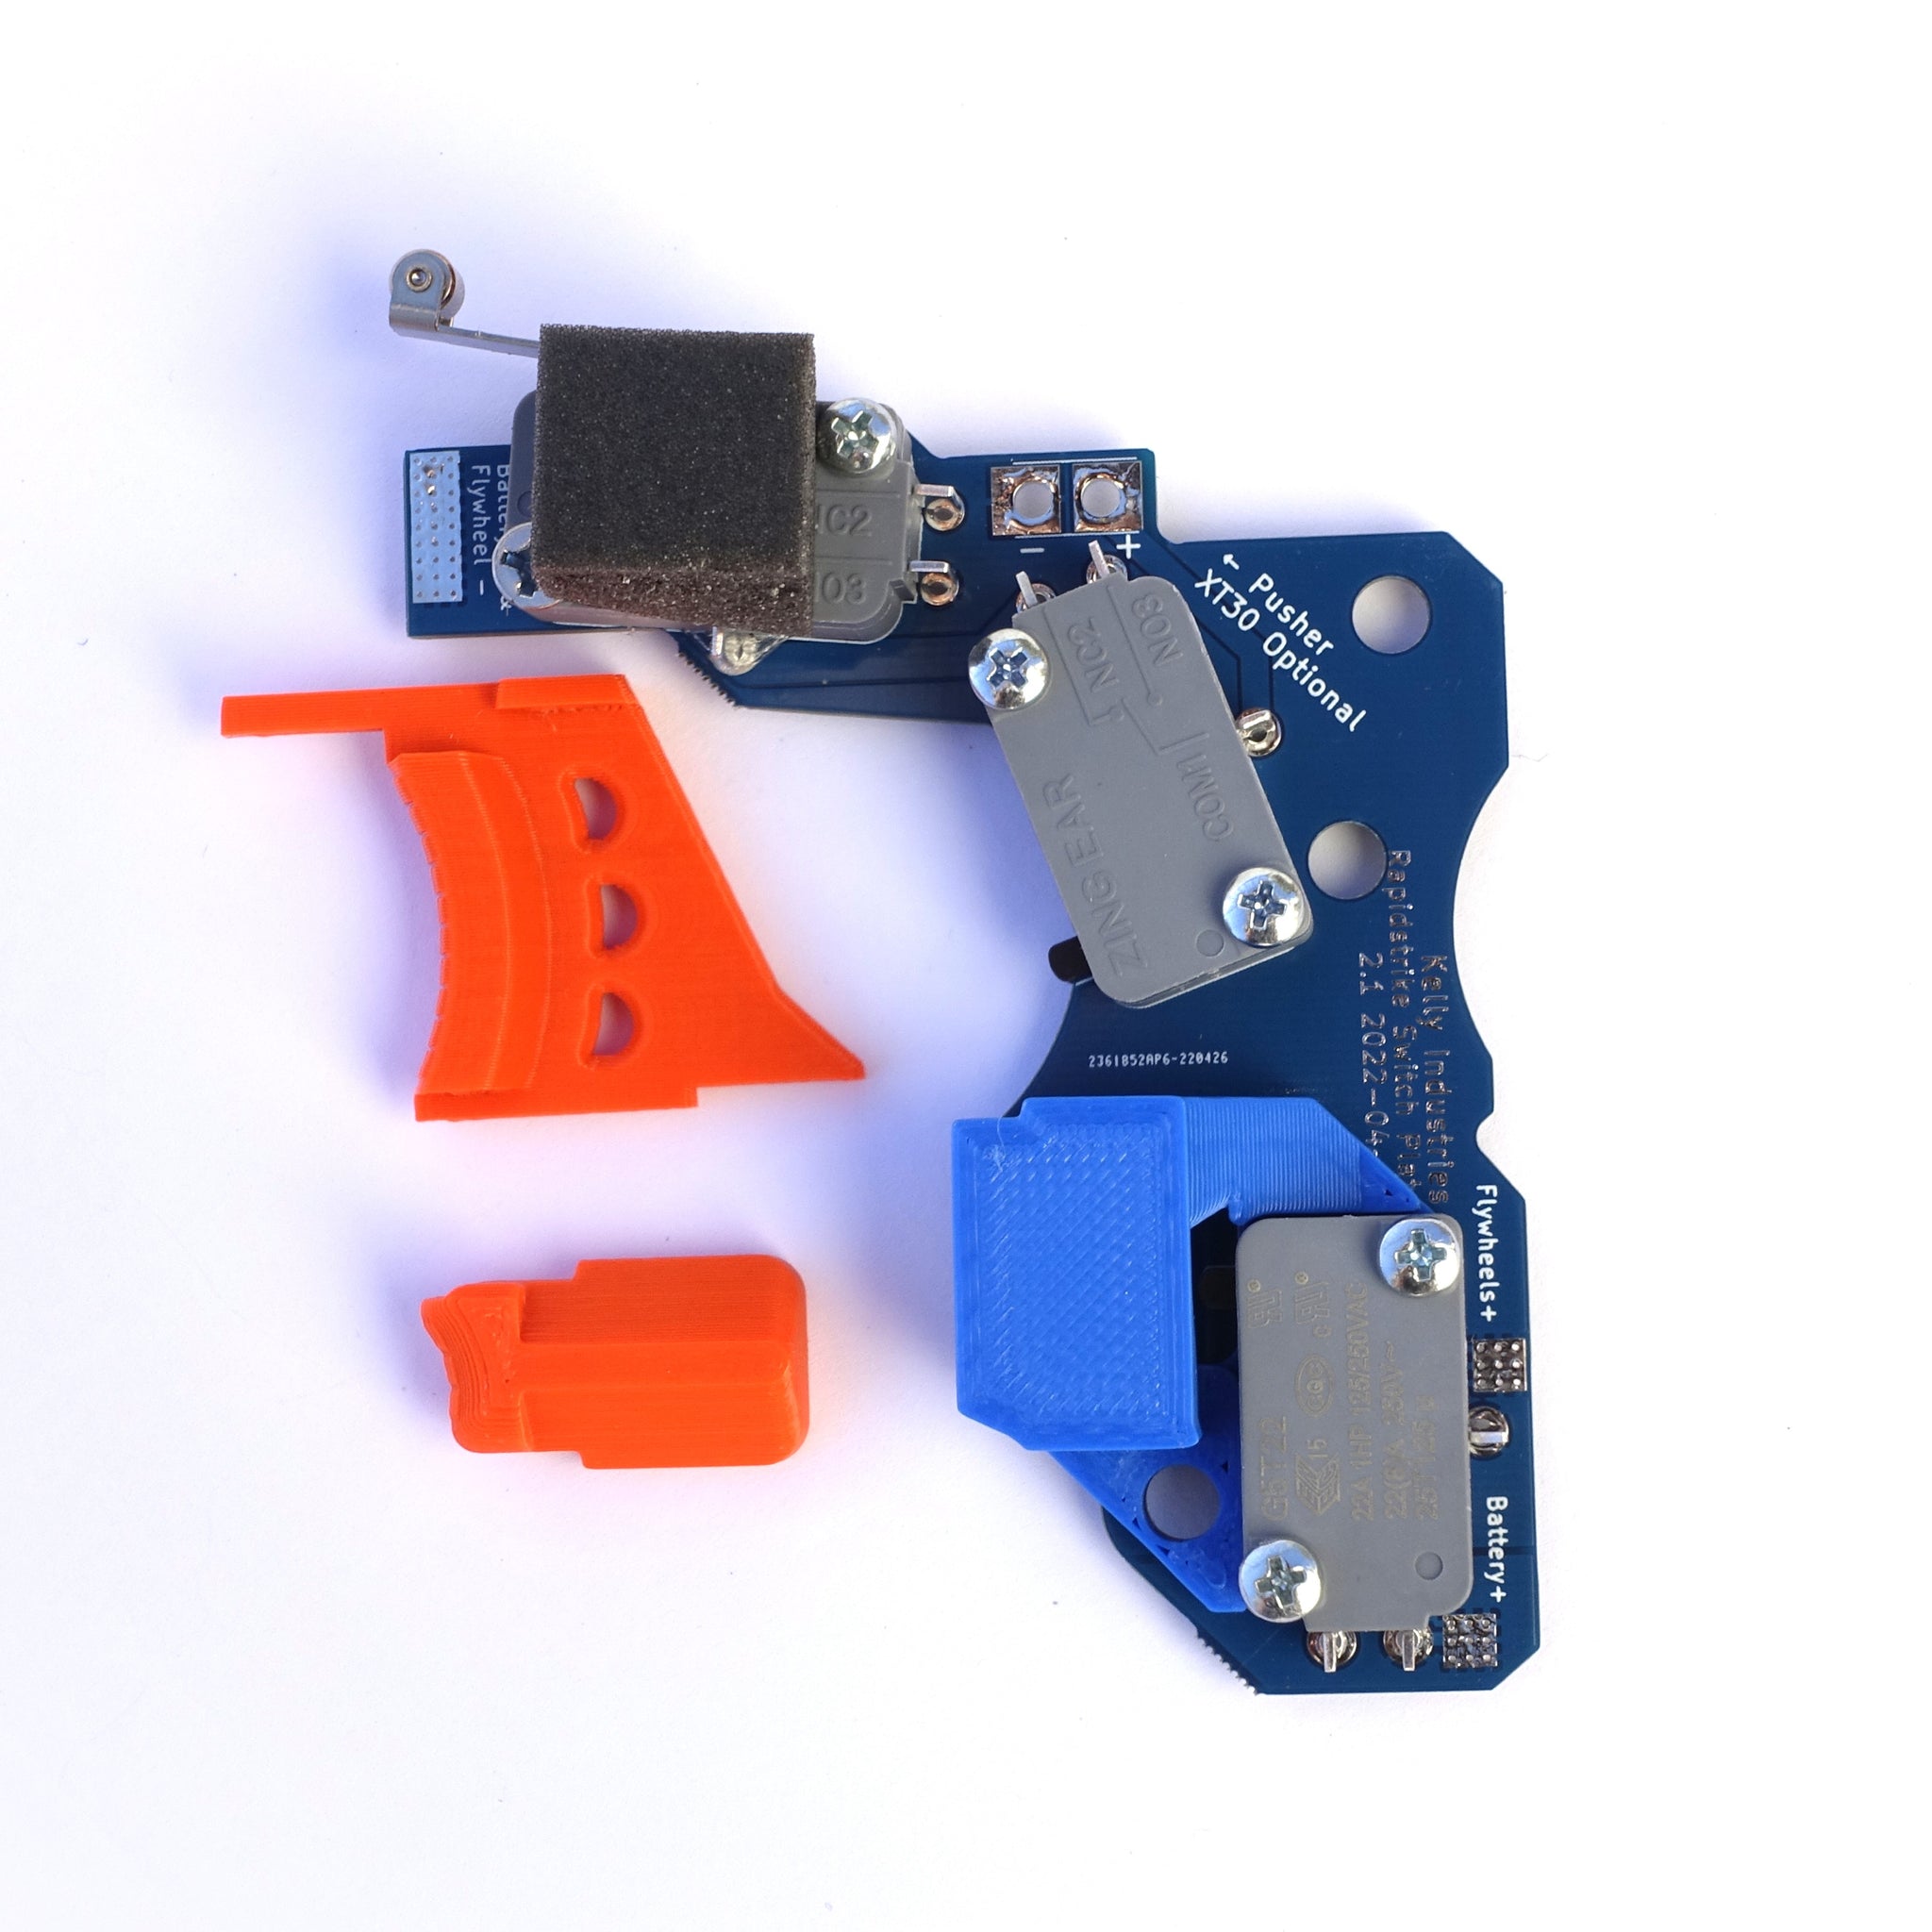
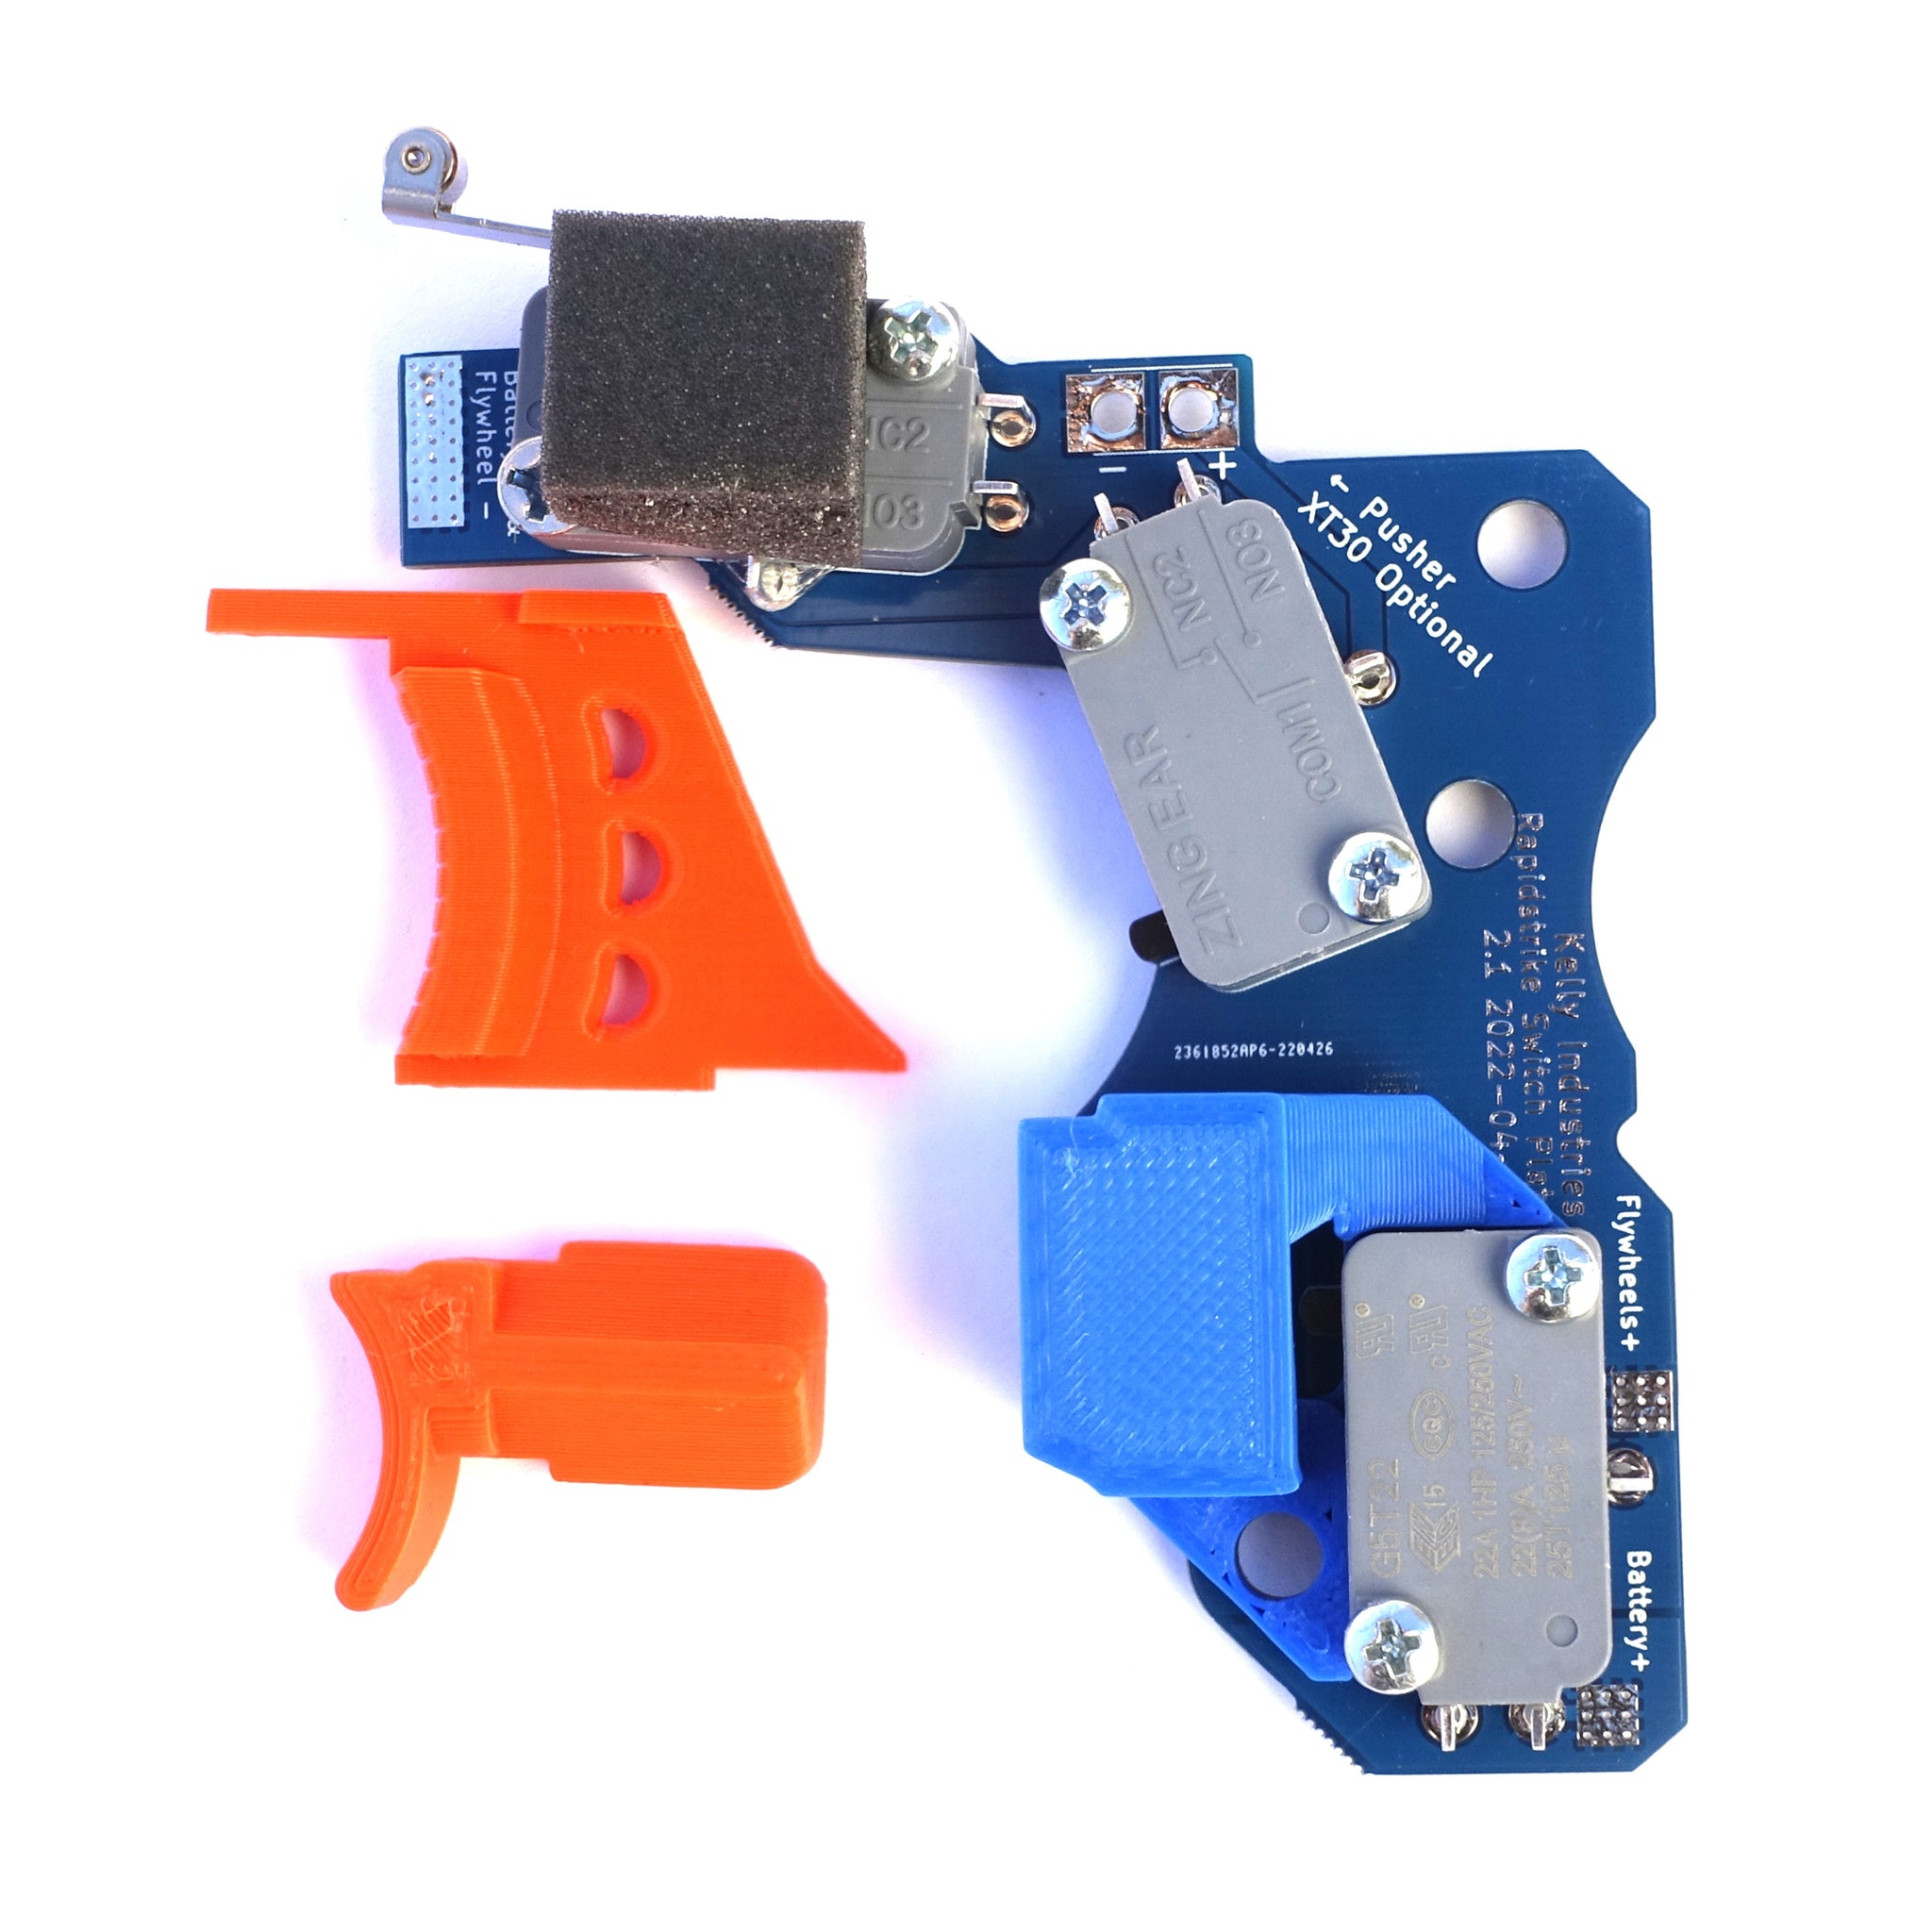
Rapidstrike PCB Switch Plate 2.0
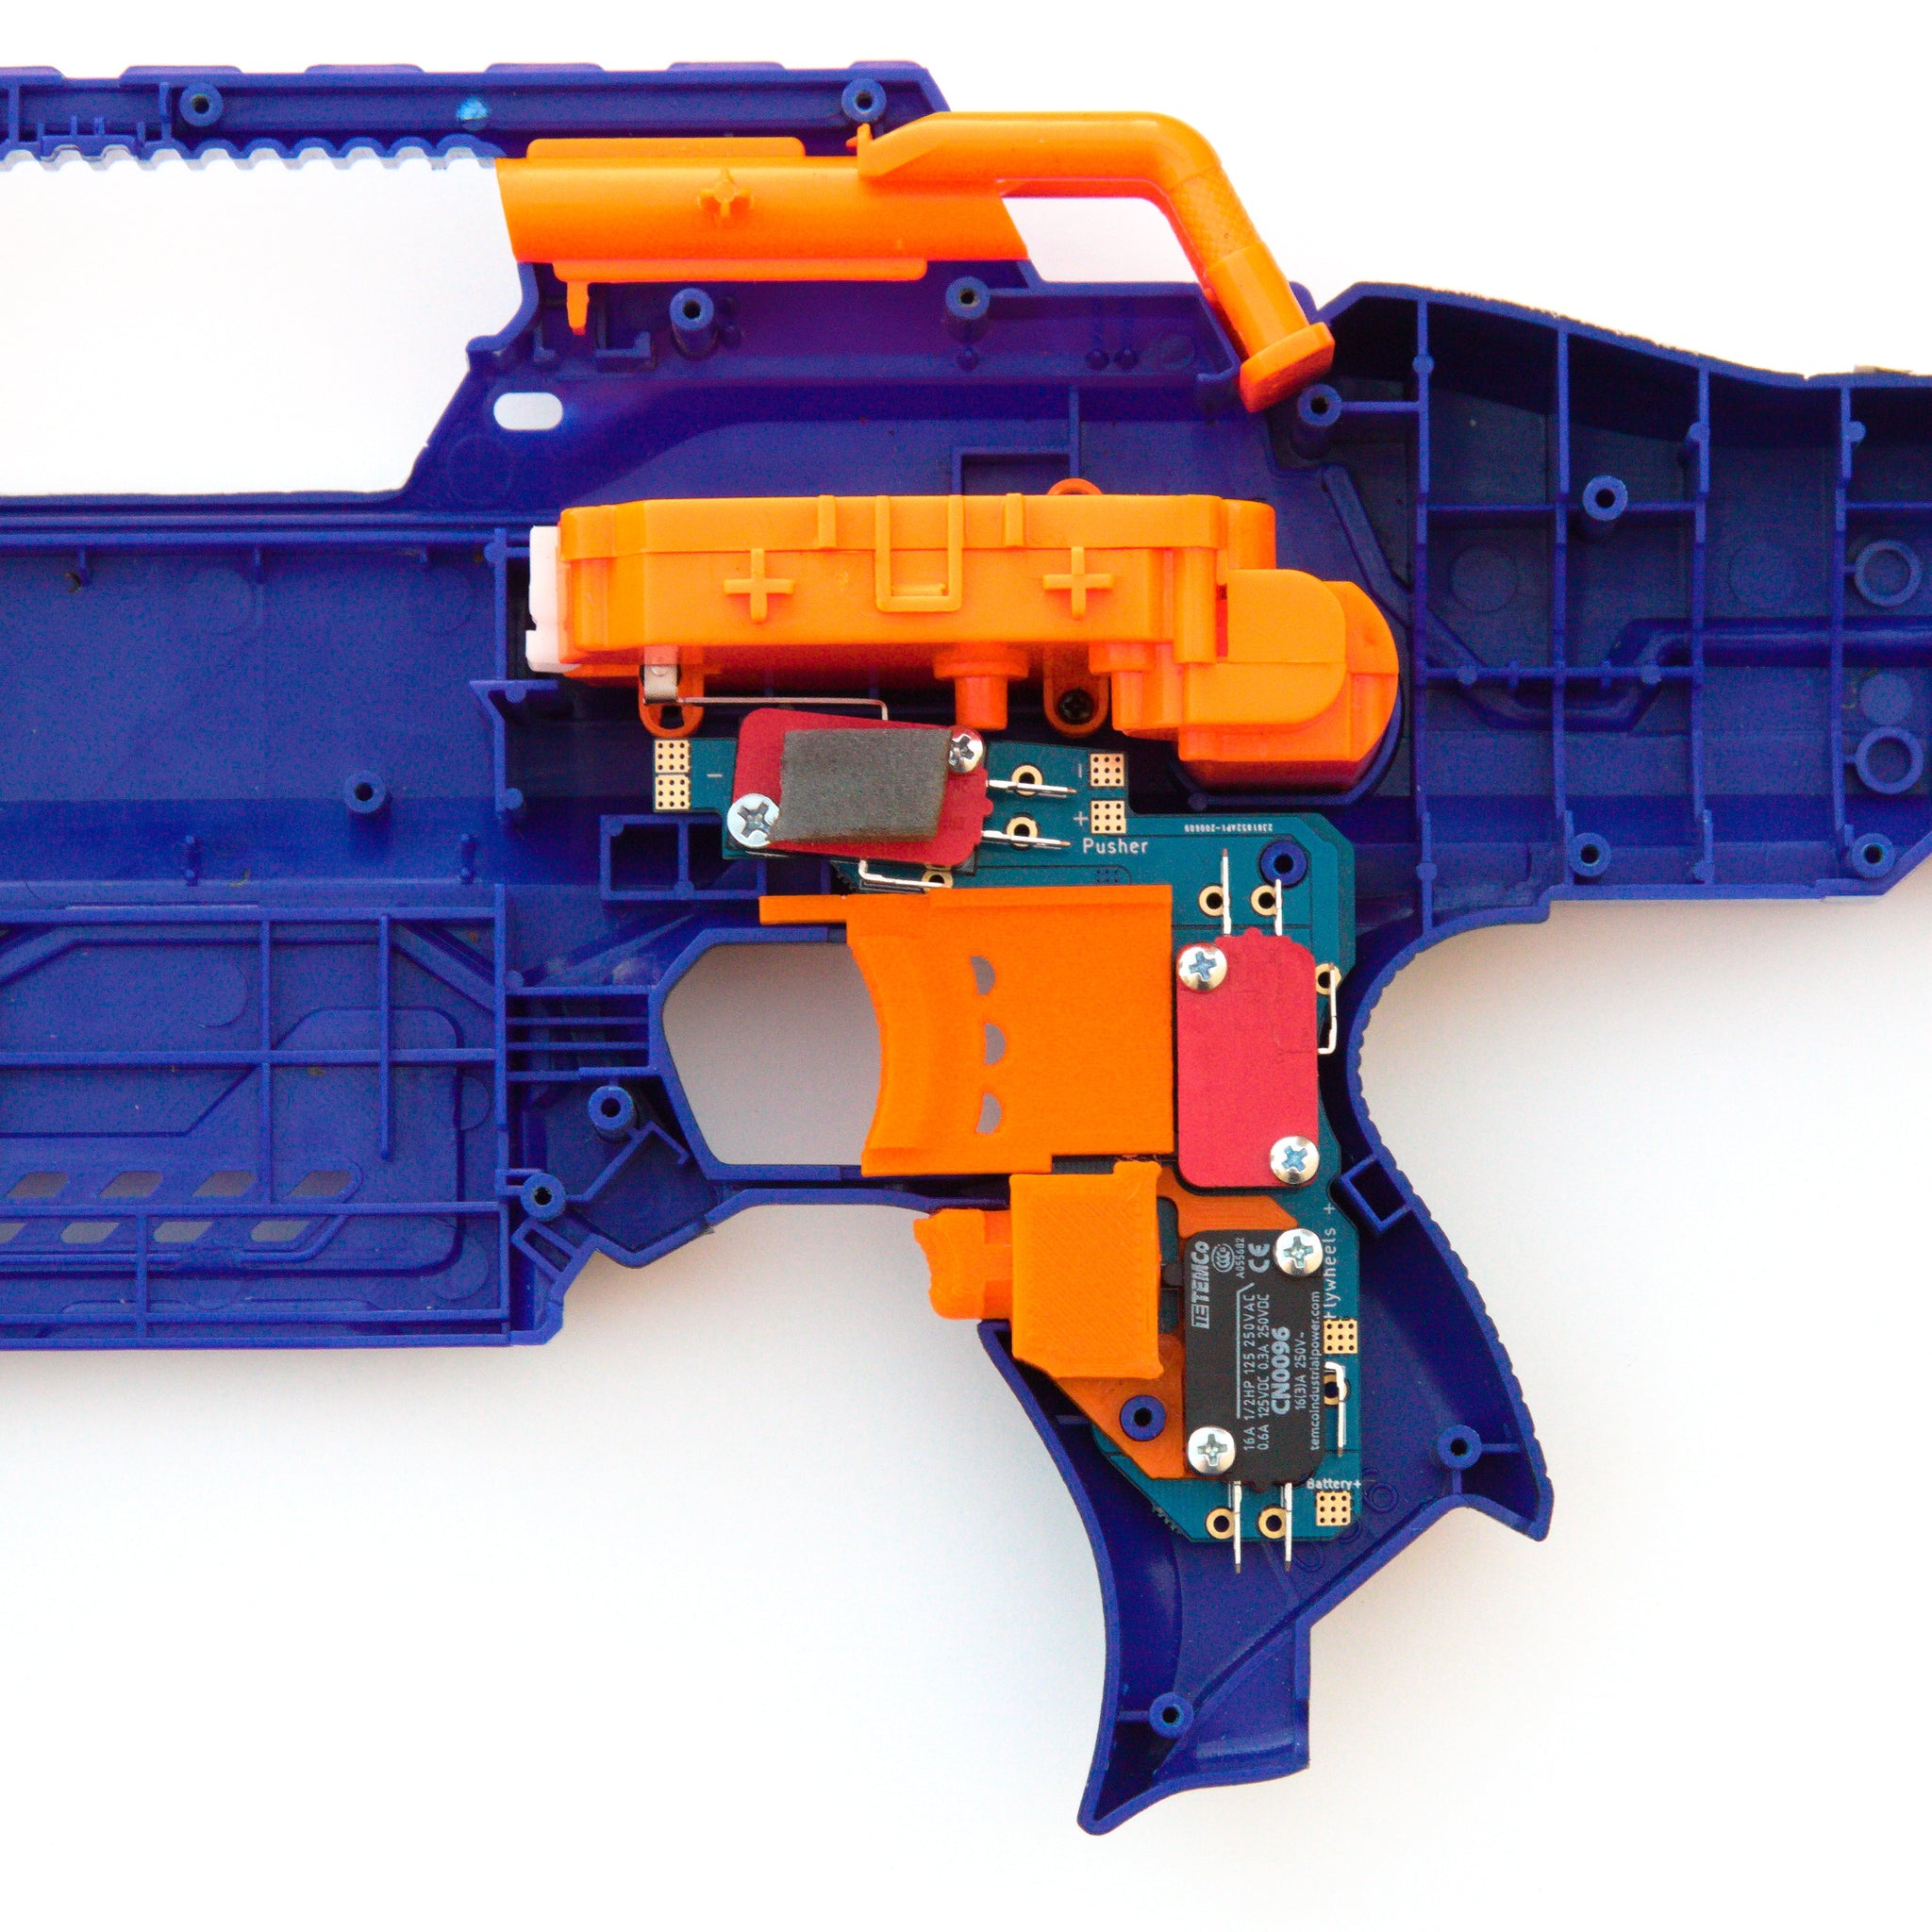
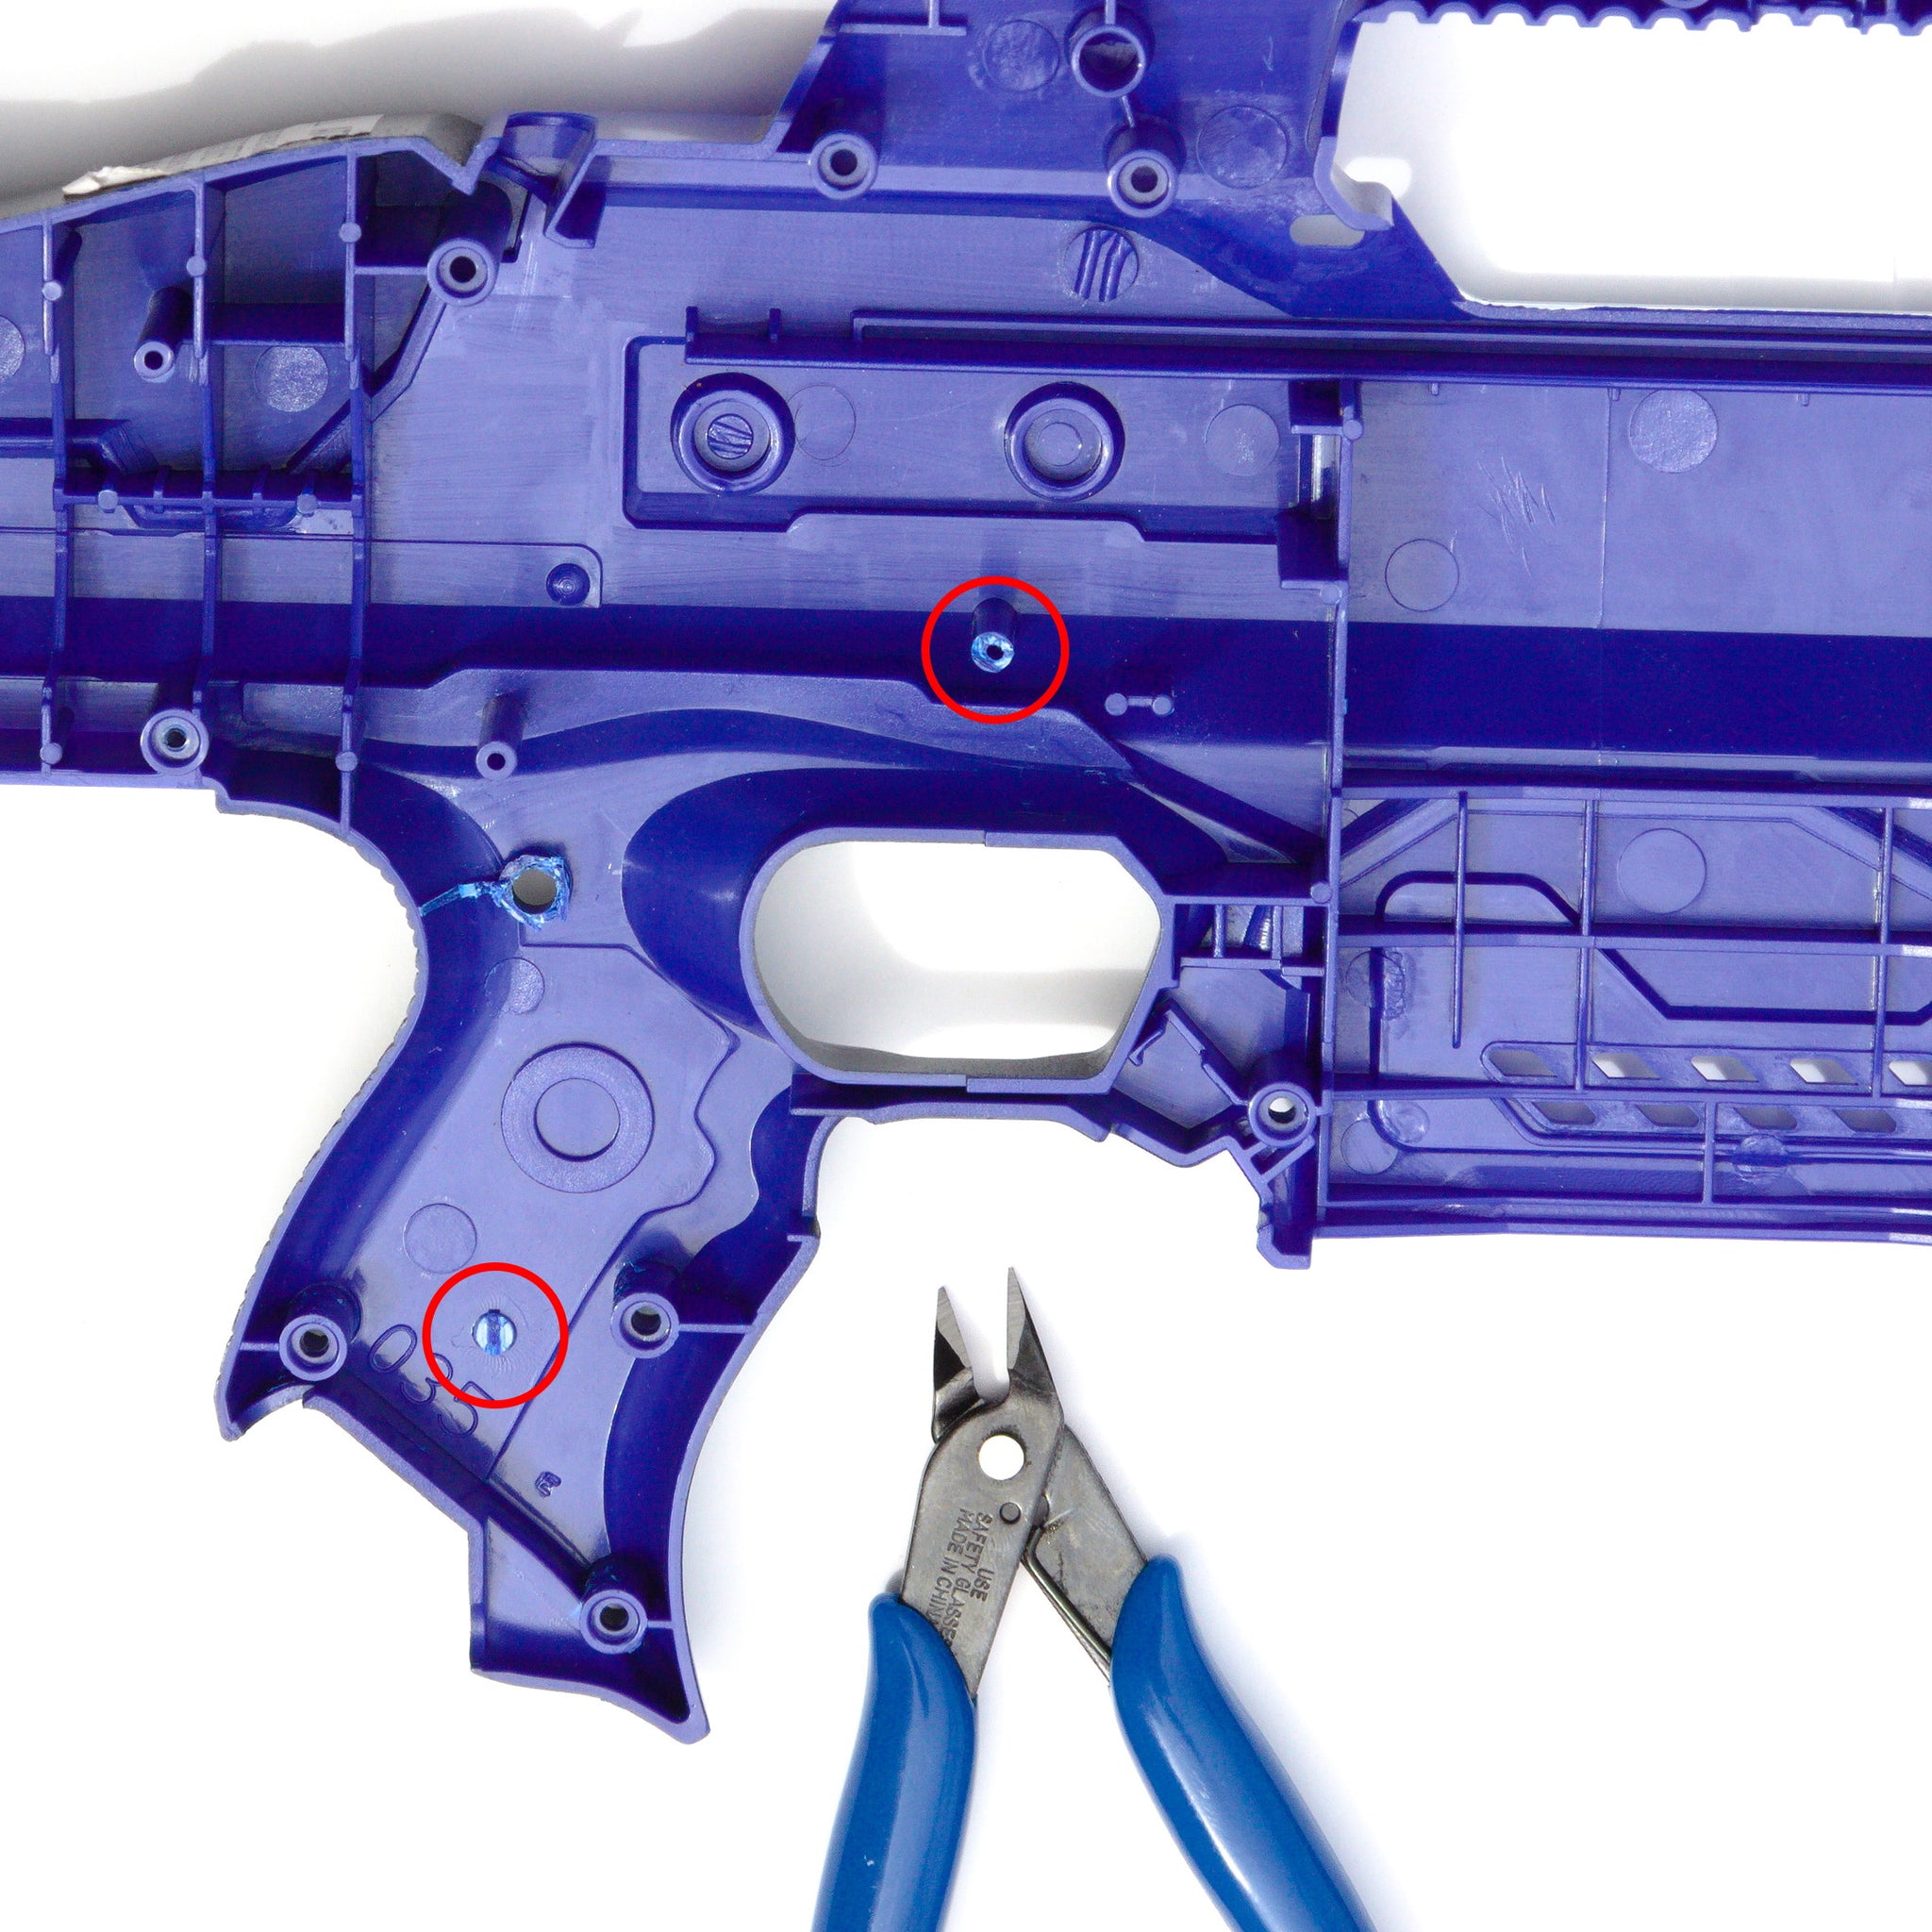
This switch plate not only holds your Rapidstrike switches in the correct positions, but includes all the complicated wiring circuits to control your Rapidstrike pusher. The new Rapidstrike switch plate 2.0 comes preassembled with the custom made PCB-mount switches which are much easier to solder and no longer require removing any screw posts. Simply solder your battery, flywheel, and pusher wires and the switches to the board. Then use flush cutters to cut the two shell posts circled in the image.
You can select the specific cycle control mode you want by cutting and resoldering the two jumpers on the back of the board, though the default mode of Regenerative Live Center is what I recommend for most builds. If the default Rev Lock mode is selected, the pusher will not operate without first pulling the rev trigger, which helps prevent jams and burning out flywheel motors. You can also solder an XT-30 connector to the board to make your pusher motor modular. The board includes the 3D printed triggers.
Please note that while the board will come assembled, the user will need to solder the switches to the board before it will function properly.
More information about board configuration settings:
All circuits brake the pusher motor when the trigger is released and the pusher is retracted (when the cycle control switch is pressed)
Live Center: When the trigger is released and the pusher is not fully retracted, apply power to the pusher motor to make it cycle until it is retracted. This guarantees that the pusher always is fully retracted when it stops, which helps a lot with consistency. The downside is that if your pusher motor doesn’t have enough torque for its rpm, it won’t be able to stop fast enough, which means the blaster won’t stop firing when you release the trigger, which is called runaway
Dead Center: When the trigger is released and the pusher is not fully retracted, let the pusher motor coast. This means it stops at the rear most position most of the time but that is not guaranteed. The upside is that it cannot experience runaway.
Regenerative Dead Center: Like dead center, but if the pusher stops not fully retracted, and then you release the flywheel rev trigger, it will perform regenerative braking of the flywheels and use that energy to become live center for a split second, which helps retract the pusher. So the pusher is more likely than dead center to return fully, but like dead center it cannot runaway, which is why this is the default mode
Rev Dependent: The pusher will not run unless the rev trigger is pressed, which prevents jams and damage to the blaster, which is why it is the default
Standard recommend build for most people would include Kraken motors for all three motors (two for the flywheels and one for the pusher), a 3S battery, Kepler flywheels, Kelly flywheel cage, Rev Dependent Live Center. However, if using a pusher motor that is higher rpm than a Kraken, or neodymium motors are cost-prohibitive, regenerative dead center is recommended due to the chance of runaway